How to Draw a Basic Dragon
In this tutorial, you'll learn how to draw a dragon step-by-step, from basic shapes to intricate details, enhancing your drawing skills.
How to Draw a Basic Dragon
Drawing a dragon can be an exciting challenge! In this tutorial, we will guide you through the steps to create your own dragon, starting from basic shapes and progressively adding details. Let’s unleash your creativity!
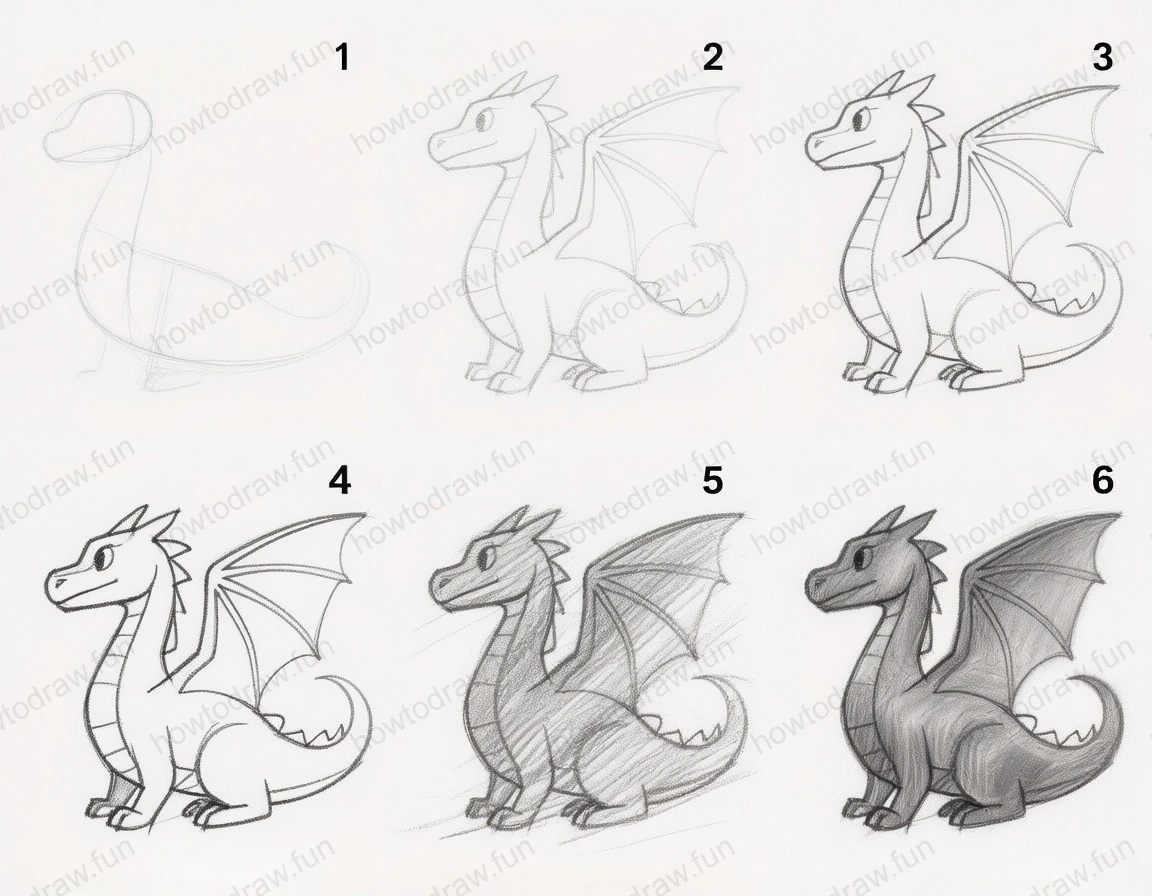
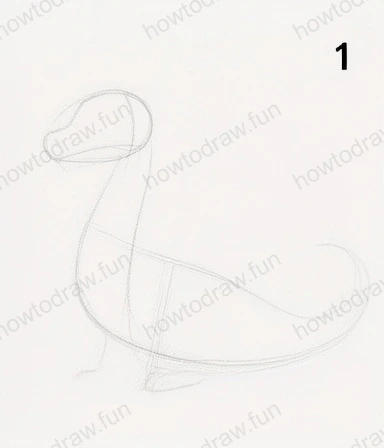
Step 1: Establishing Basic Shapes
In this first step, you will begin with the basic shapes that form the structure of the dragon. Start by drawing an elongated oval for the body and a smaller oval for the head. These shapes will help you establish proportions. The neck should be a curved line connecting the head to the body. Focus on keeping your lines light, as they will be refined later. Common mistakes include making the neck too thick or the head too small, so pay attention to proportions. Once you’re satisfied with your basic shapes, you’re ready to move to the next step!
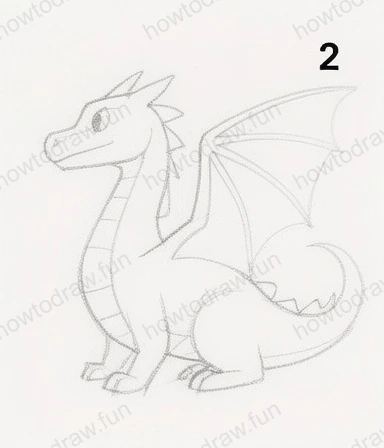
Step 2: Adding the Dragon's Features
Now, let’s add some defining features to our dragon. Begin by sketching the facial features, including the eyes, mouth, and nostrils. The eyes should be large and expressive. Next, outline the shape of the wings using curved lines that extend from the body. The wings should have a slight curve to them, giving them a more dynamic look. Avoid making the wings too small; they should be proportionate to the body. Ensure you keep your pencil strokes light and fluid to allow for adjustments as you refine your drawing.
Step 3: Defining the Body and Adding Details
In this step, refine the outline of the dragon’s body and add more intricate details such as the spines along the back and the claws on the feet. The spines should be small triangles that follow the curve of the back. Be sure to add some definition to the tail; it can have a slight curve or be more rigid depending on your style. As you add these details, remember to keep your lines clean and confident. Common mistakes include making spines too uniform, so vary their size for a more natural look. You're getting closer to a finished dragon!

Step 4: Refining the Features
At this point, it's time to refine the features you've sketched so far. Go over your lines, making them bolder and more defined. Clean up any unnecessary lines from the previous steps. Focus on detailing the wings; add veins to give them texture. The claws should be sharp and pronounced. Take your time here, as this is where your dragon starts to take on personality. Pay attention to symmetry in the wings and ensure both sides match. This is a crucial step, as it sets the foundation for shading later on.

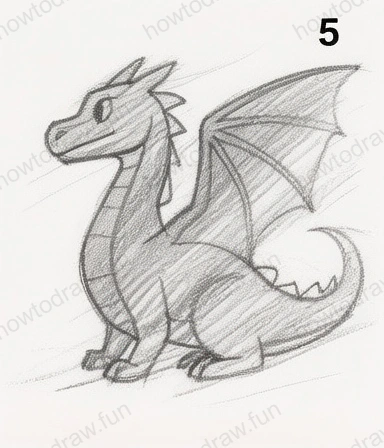
Step 5: Shading and Adding Texture
Now that your dragon is well-defined, it’s time to add some shading to give it depth. Use your pencil to create shadows under the wings and along the body. This will help your dragon appear more three-dimensional. Vary the pressure on your pencil to create different shades, from light to dark. Common mistakes include over-shading, so be mindful of where light would naturally hit your dragon. You can also add texture to the body by incorporating small lines or dots to suggest scales, enhancing the realism of your drawing.
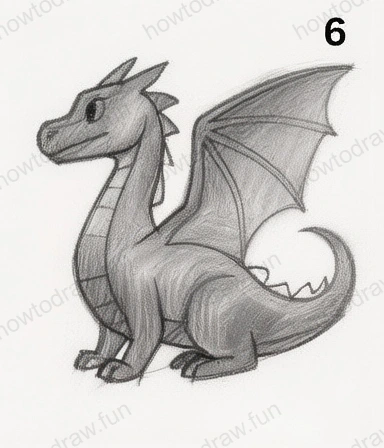
Step 6: Final Touches and Highlights
In the final step, review your drawing and make any necessary adjustments. Add highlights to the eyes and areas of the body where light would hit. This can be done by gently erasing certain areas or using a white pencil for highlights. Check for any inconsistencies and make sure the overall shape of the dragon is cohesive. Your dragon should now look dynamic and lively. As you finish, consider experimenting with colors or different backgrounds to make your dragon stand out even more!
In conclusion, you’ve learned how to draw a dragon step-by-step, from simple shapes to intricate details. Remember that practice is key; the more you draw, the better you will become. Feel free to experiment with different styles and variations of dragons. Keep honing your skills, and don’t hesitate to explore other mythical creatures too. Happy drawing!
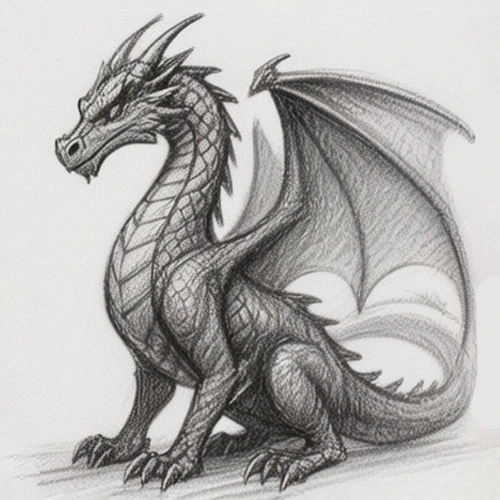
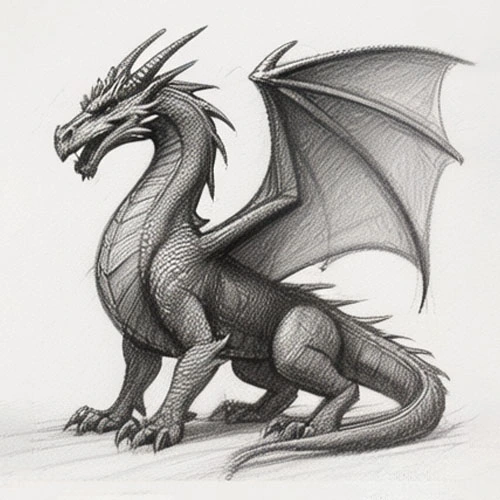
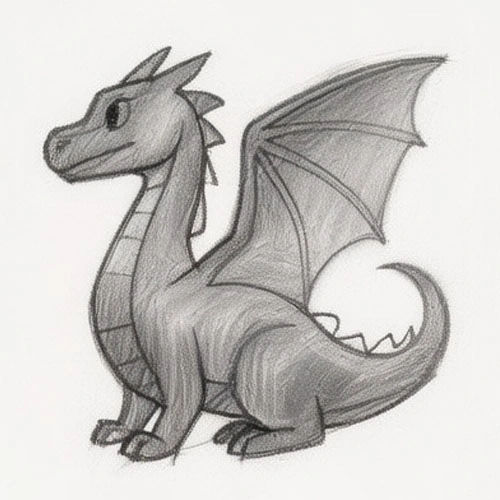
Reference Image
Here's the complete reference image: