How to Draw a Semi-Detailed Crocodile
Learn how to draw a crocodile step-by-step, focusing on shapes, shading, and details to create a semi-realistic look.
How to Draw a Crocodile
Welcome to this exciting drawing tutorial where you'll learn how to draw a crocodile step-by-step! This guide is perfect for those looking to improve their drawing skills while having fun. With detailed instructions, you'll be able to create a realistic crocodile using basic shapes and shading techniques.
Step 1:
In the first step, start by sketching the basic shape of the crocodile's body. Draw an elongated oval for the body and a smaller oval for the head. Position the head slightly to the left and ensure it connects smoothly to the body. Lightly sketch these shapes to allow for adjustments. Add a few guidelines to indicate where the legs and tail will be, ensuring they remain proportional. Remember, this is just a foundation, so keep your lines light to avoid them showing through later. Avoid drawing too darkly, as you will refine these shapes in the following steps.

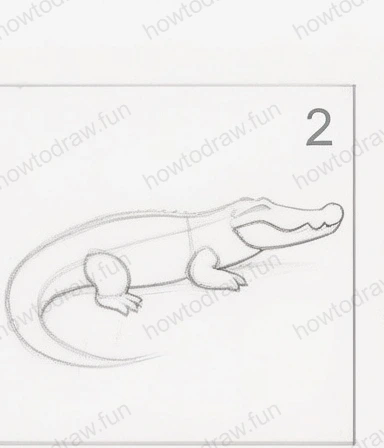
Step 2:
Next, refine the shape by adding the details of the crocodile's head and limbs. Use the earlier ovals as a guide to form the snout and jaw. Curve the lines to define the mouth while adding teeth shapes along the upper jaw. For the legs, sketch two front limbs coming out from the body with rounded ends for the feet. The tail should also be proportionately long. Make sure the lines are more defined now, but still light enough to allow for erasing if necessary. Common mistakes include making the head too big or the limbs too short, so keep an eye on proportions.
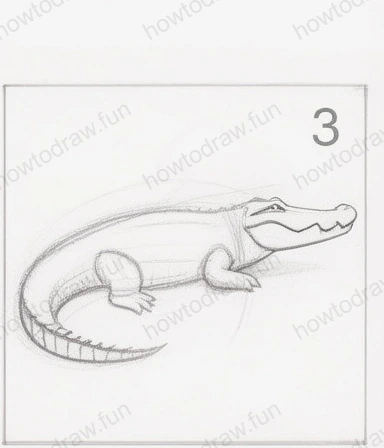
Step 3:
In this step, continue detailing the crocodile. Add more definition to the limbs, ensuring the legs have muscles and the claws are visible. Adjust the tail’s shape, making it wider at the base and tapering toward the tip. Focus on enhancing the contours, giving the body a more three-dimensional appearance. Begin to add texture to the skin by sketching small scales along the back and tail. Remember to keep your lines smooth and flowing to capture the sleekness of the crocodile. It's easy to overlook these textures, but they add realism.
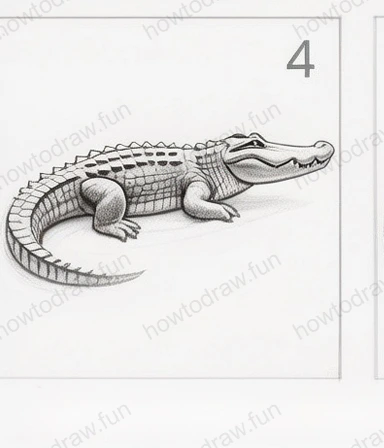
Step 4:
Now, it's time to add depth with shading. Use a soft pencil to lightly shade the areas that would naturally be darker, like under the belly and in the crevices of the limbs. Pay attention to light sources; if light is coming from the top, the underside will be darker. Use blending techniques to smooth out the shading, creating a soft gradient effect. Avoid pressing too hard, as this can create harsh lines. An important tip is to step back and review your work to see where more shading might be needed, ensuring even distribution of light and dark areas.
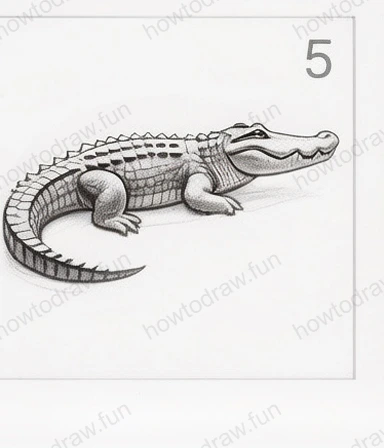
Step 5:
As you continue, refine the details of the crocodile’s texture. Darken the scales along the back and tail to make them stand out more. Add shadows beneath the body and around the legs to ground the crocodile and make it appear as if it’s resting on a surface. This step is crucial for bringing your drawing to life. Ensure the shadows are consistent with the light source you chose earlier. If shadows appear too harsh, blend them softly for a more natural look. Take your time to perfect these details; they make a significant difference.
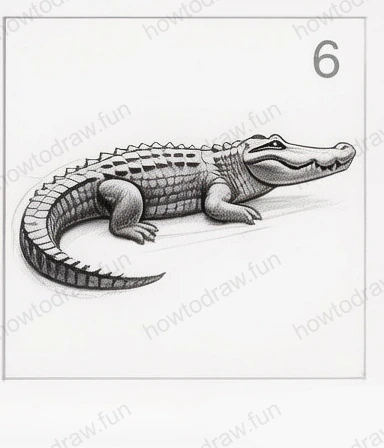
Step 6:
In the final step, focus on the finishing touches. Darken the outlines to make the drawing pop. Add more texture to the scales if needed and ensure the teeth are sharp and well-defined. Review the overall composition, adding any final highlights or adjustments to balance the drawing. You may want to use an eraser to create highlights by removing graphite from the scales or around the eyes. Lastly, assess your work: ensure everything looks cohesive and realistic. The key is to be patient and enjoy the process!
In conclusion, you've just learned how to draw a crocodile from basic shapes to detailed shading! Remember, practice makes perfect, and the more you draw, the better you'll become. Don't hesitate to try different poses or styles of crocodiles. Experimenting with variations will enhance your skills and creativity. Keep drawing and enjoy the journey of artistic exploration!
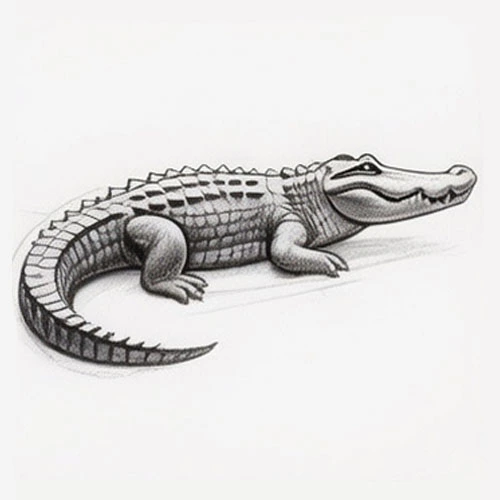
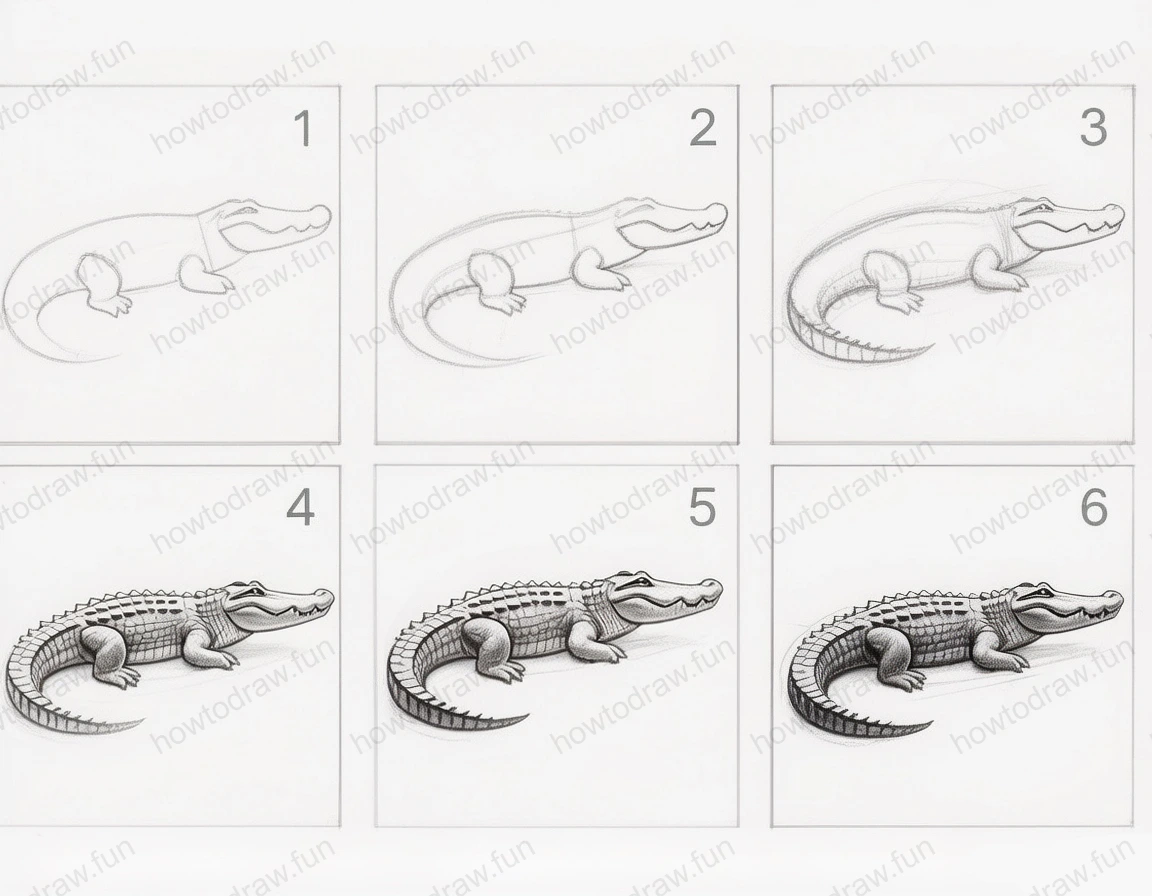
Reference Image
Here's the complete reference image:
More Intermediate Tutorials
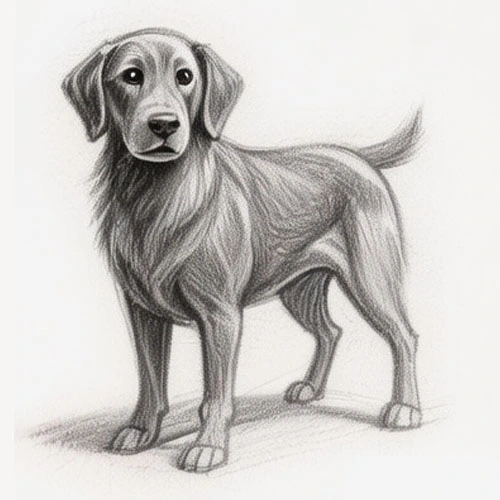
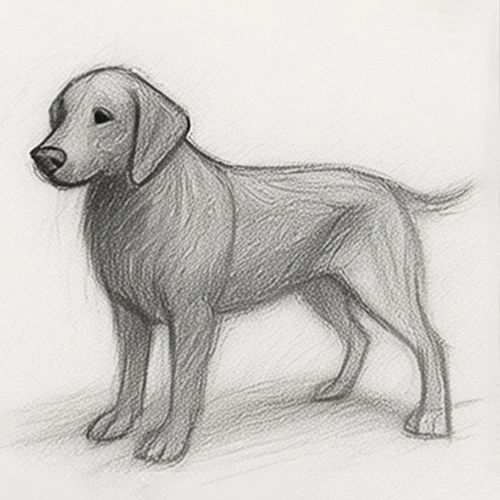
How to Draw a Dog
Learn to draw a realistic dog step-by-step, focusing on shapes, shading, and texture. Perfect for improving your drawing skills!

How to Draw a Semi-Realistic Dog
Learn how to draw a realistic dog step-by-step, from basic shapes to detailed features and shading techniques.
How to Draw a Semi-Realistic Dog
Learn how to draw a dog step-by-step, from basic shapes to detailed features. Perfect for improving your sketching skills and capturing canine charm!
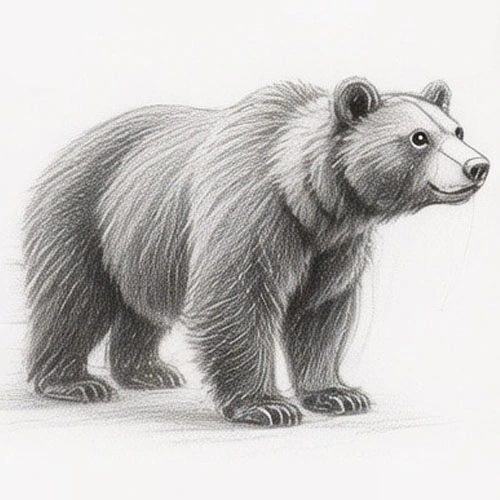
How to Draw a Semi-Realistic Bear
In this tutorial, you'll learn how to draw a semi-realistic bear through structured steps, focusing on shapes, proportions, and shading techniques.