How to Draw a Semi-Realistic Dog
Learn how to draw a dog step-by-step, from basic shapes to detailed features. Perfect for improving your sketching skills and capturing canine charm!
How to Draw a Semi-Realistic Dog
In this tutorial, you'll learn how to draw a dog through a series of progressive steps. Each step builds on the last, guiding you from basic shapes to a fully realized dog sketch. This process is designed to enhance your drawing skills and understanding of proportions.
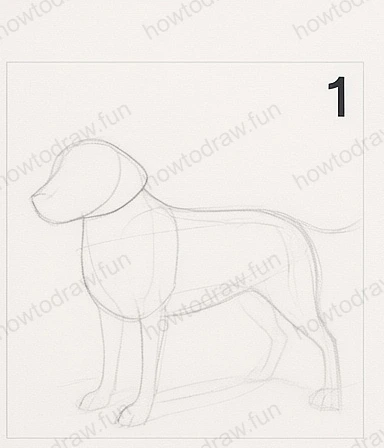
Step 1:
In the first step, start by drawing basic shapes to outline the dog's body. Use a light pencil to sketch a large oval for the body, and a smaller circle for the head. The head should be positioned slightly above and to the left of the body. Add guidelines for the legs using straight lines, ensuring they are proportionate to the body. Pay attention to the placement of the ears; they should align with the top part of the head circle. Remember to keep your lines light for easy adjustments later.
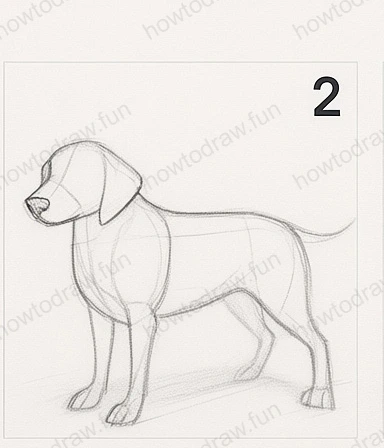
Step 2:
Building on the first step, refine the shapes into a more recognizable dog form. Round the edges of the head for a softer look and define the muzzle by extending a small oval from the lower part of the head circle. Start shaping the legs by adding curves to indicate joints. Focus on the proportions: the front legs should be slightly longer than the hind legs. This is also the stage to outline the ears, giving them a more defined shape. Keep the lines light, as you'll be erasing some later.
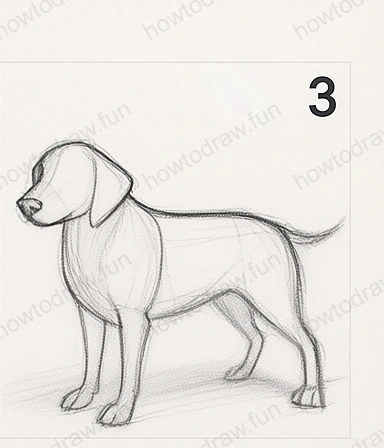
Step 3:
In this step, continue refining the dog's features. Enhance the head shape and add details to the muzzle, including the nose and mouth. Draw the eyes, ensuring they are situated symmetrically and aligned with the ears. The body outline should become more defined, incorporating the chest and hindquarters. Also, add the tail, ensuring it looks natural and follows the body’s curve. This is a crucial step for capturing the dog's character, so take your time to get the shapes right.
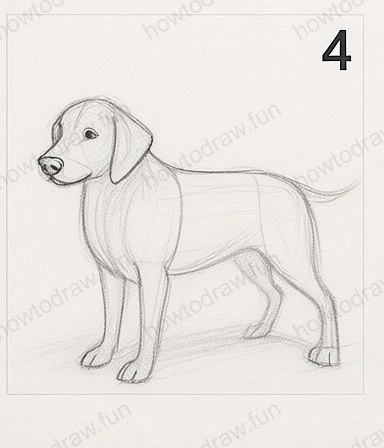
Step 4:
At this stage, focus on adding texture and fur details. Use short, light strokes to create the illusion of fur, especially around the neck and chest. Solidify the outlines of the legs and paws, ensuring they are distinct. Remember to keep the outline slightly lighter than the inner details, as this will help in the final shading process. Avoid pressing too hard with your pencil; you want the lines to remain soft and adjustable.
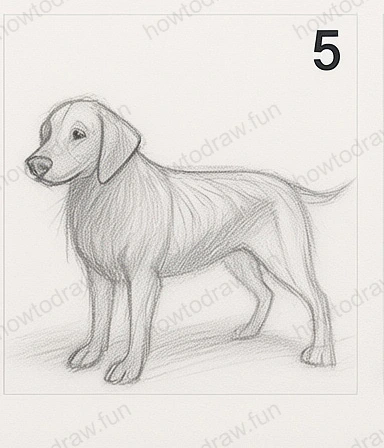
Step 5:
Now, it's time to add depth to your drawing. Begin shading in areas where shadows naturally occur, such as under the belly and behind the legs. Use a blending tool or your finger to smooth out the pencil strokes, creating a more realistic look. Pay attention to the direction of your strokes, as they should follow the contours of the dog's body. This step is all about enhancing the three-dimensionality of your drawing, so take your time to blend and layer.
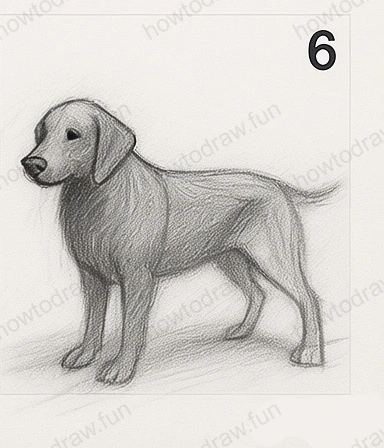
Step 6:
In the final step, refine any remaining details and enhance the shading. Darken the areas that need more depth, particularly around the eyes and the muzzle. Add highlights where the light naturally hits the fur, such as the forehead and tips of the ears. This will bring your drawing to life. Take a step back to evaluate your work, making any necessary adjustments to proportions or details. Don’t forget to sign your piece!
In conclusion, you have learned how to draw a dog through careful observation and step-by-step progression. Each stage emphasized the importance of basic shapes, proportions, and shading techniques. Remember that practice is key; don’t hesitate to try different poses or breeds. Experimenting will improve your skills and confidence as an artist. Keep drawing, and enjoy the creative process!
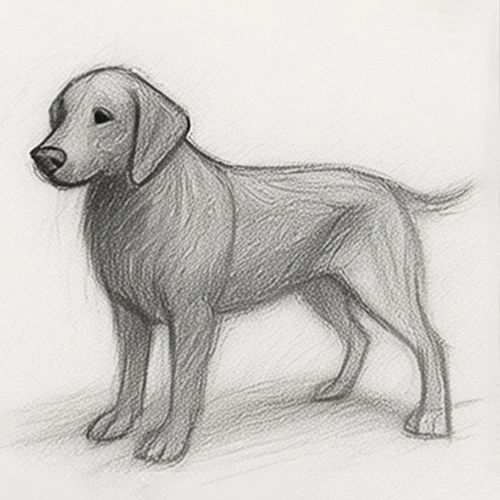
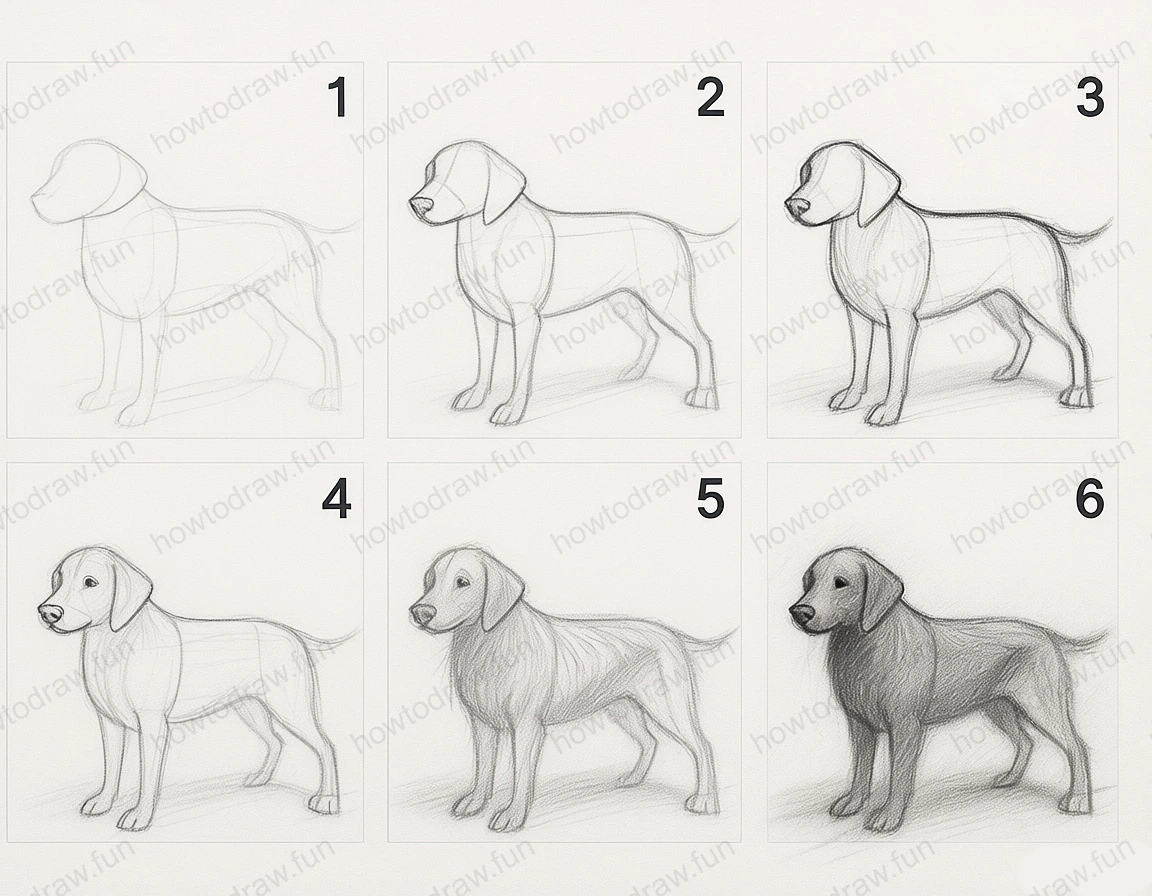
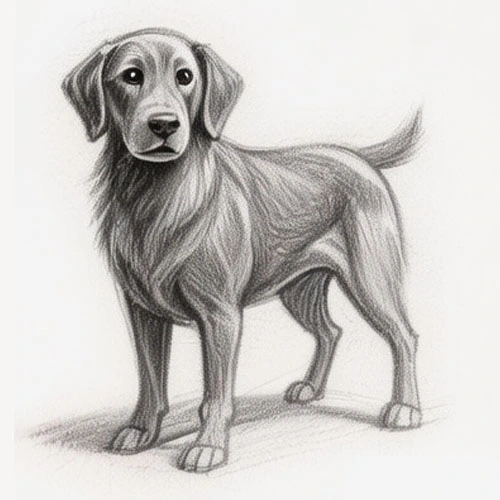
Reference Image
Here's the complete reference image:
More Intermediate Tutorials
How to Draw a Dog
Learn to draw a realistic dog step-by-step, focusing on shapes, shading, and texture. Perfect for improving your drawing skills!
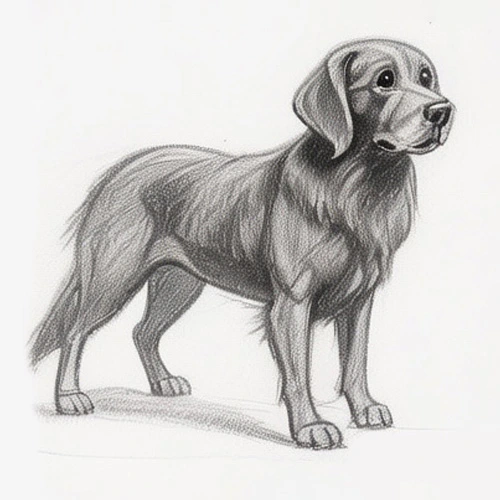
How to Draw a Semi-Realistic Dog
Learn how to draw a realistic dog step-by-step, from basic shapes to detailed features and shading techniques.
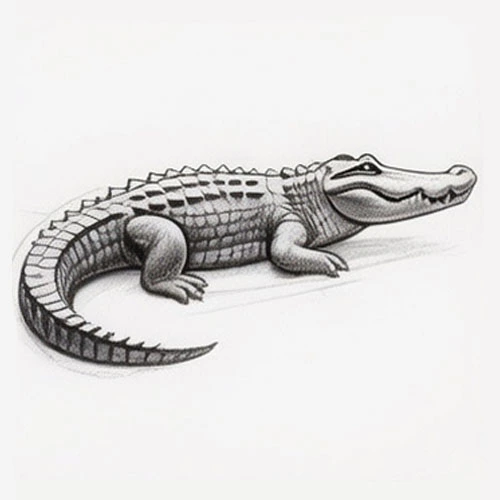
How to Draw a Semi-Detailed Crocodile
Learn how to draw a crocodile step-by-step, focusing on shapes, shading, and details to create a semi-realistic look.
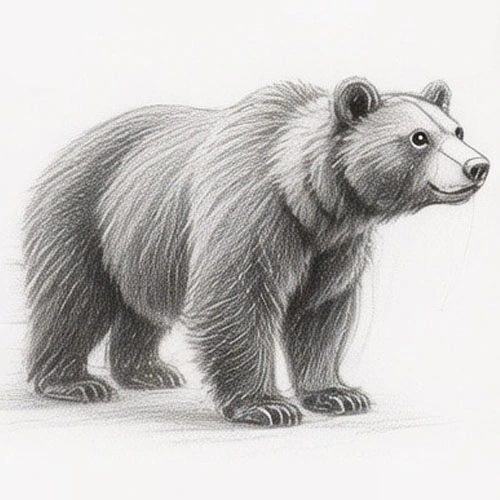
How to Draw a Semi-Realistic Bear
In this tutorial, you'll learn how to draw a semi-realistic bear through structured steps, focusing on shapes, proportions, and shading techniques.