How to Draw a Semi-Detailed Cat
Learn to draw a semi-detailed cat step-by-step! This tutorial will guide you through basic shapes to detailed shading, helping you capture an almost lifelike feline.
How to Draw a Cat
Drawing a cat can be both fun and rewarding! In this tutorial, we will guide you through the process of sketching a cat from basic shapes to a detailed rendering. Whether you're a beginner or looking to enhance your skills, these steps will help you create a lifelike feline companion.
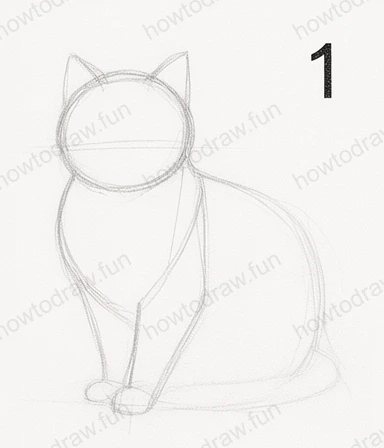
Step 1:
Begin by drawing the basic shapes. Start with a circle for the head and an oval for the body. Position the head above the body, ensuring they are proportional. Lightly sketch these shapes using a pencil, as this will allow you to erase and adjust easily. Pay attention to the placement of the head, ensuring it's not too far from the body. This foundational step is crucial for maintaining the correct proportions as you progress.
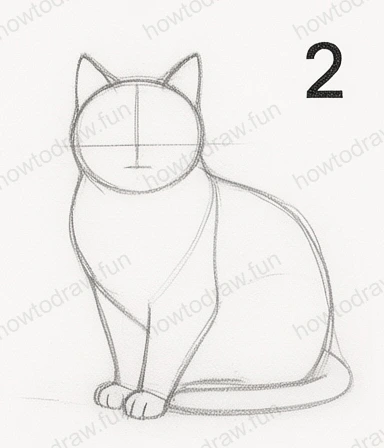
Step 2:
In this step, refine the shapes into more defined outlines. Add the ears by drawing two triangular shapes atop the head. For the body, create a smoother outline that reflects the cat's form. Begin to sketch the legs and paws, focusing on their placement. Make sure to keep your lines light, allowing for adjustments. Common mistakes include making the head too large or the body too small, so be mindful of proportions as you continue.
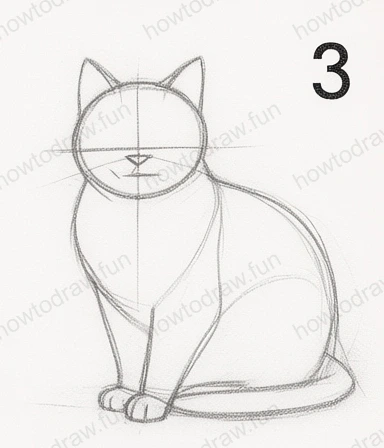
Step 3:
Now, add facial features. Draw a vertical and horizontal line through the head circle to help position the eyes, nose, and mouth accurately. Sketch the eyes using almond shapes, placing them on the horizontal line. Add a small triangle for the nose and a simple line for the mouth. This step is vital for capturing the cat's expression, so take your time to get these features right. Ensuring symmetry in the facial features will make your drawing more appealing.
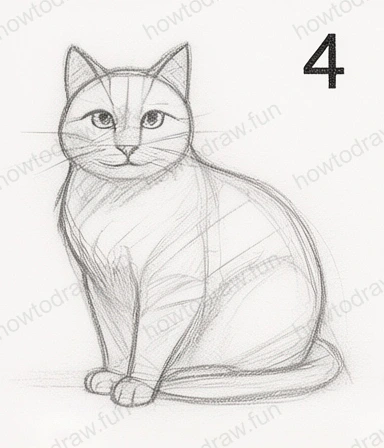
Step 4:
Next, start adding details to your cat. Outline the ears clearly and add whiskers by drawing long, curved lines from the muzzle. Begin to define the body shape more, adding fur texture with short, light strokes. This is where your cat starts to come to life! Don't forget to refine the shapes of the legs and paws, ensuring they appear natural. Avoid pressing too hard with your pencil, as you may want to adjust or erase parts later.
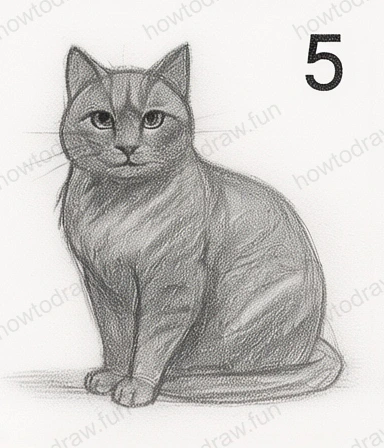
Step 5:
In this step, focus on shading to create depth. Use a softer pencil to add shadows under the chin, between the legs, and on one side of the body. Gradually build up the shading using small circular motions to create a smooth transition. This will help give your cat a three-dimensional appearance. Be careful not to overdo the shading; subtlety is key. Continue to refine and enhance the features, ensuring that every aspect looks cohesive.
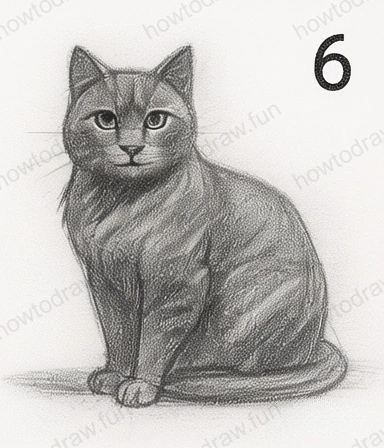
Step 6:
For the final step, add finishing touches. Darken the outlines where necessary, especially around the eyes and nose, to make them stand out. You can add additional texture to the fur with fine strokes, creating a more realistic effect. Take a moment to review your drawing, looking for areas where you might want to add more detail or shading. This is your opportunity to perfect your cat drawing and make it uniquely yours.
In conclusion, you've learned how to draw a cat step by step! From basic shapes to detailed shading, each phase builds on the previous one, allowing you to create a lifelike image. Remember, practice is essential in honing your skills. Don’t hesitate to experiment with different poses or fur patterns in future drawings. Keep sketching and enjoy the process; each drawing brings you closer to mastering your technique!
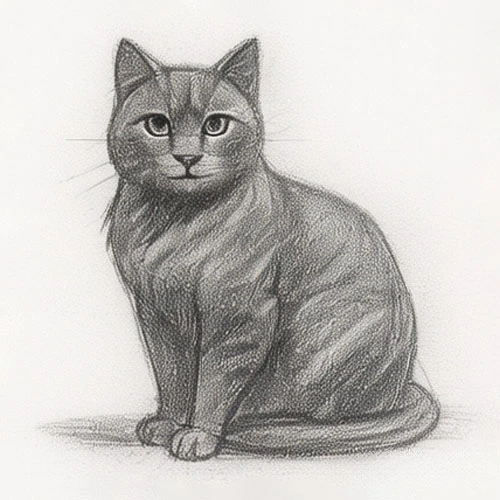
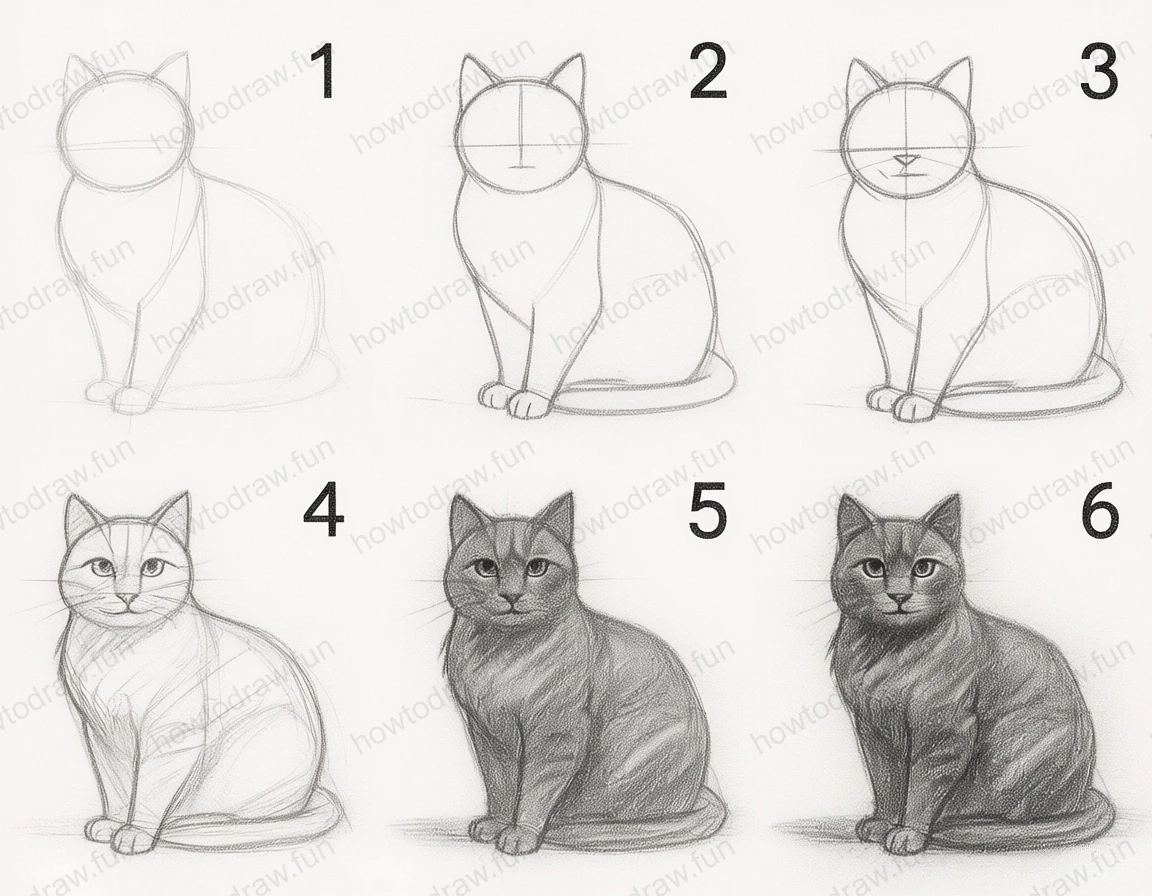
Reference Image
Here's the complete reference image:
More Intermediate Tutorials
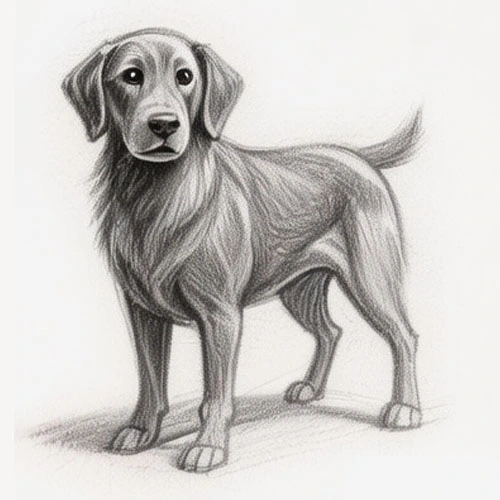
How to Draw a Dog
Learn to draw a realistic dog step-by-step, focusing on shapes, shading, and texture. Perfect for improving your drawing skills!
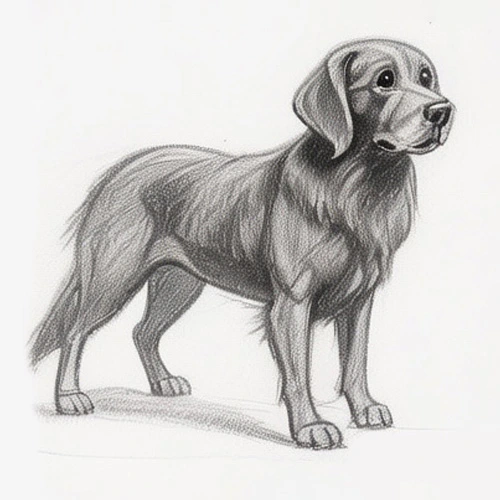
How to Draw a Semi-Realistic Dog
Learn how to draw a realistic dog step-by-step, from basic shapes to detailed features and shading techniques.
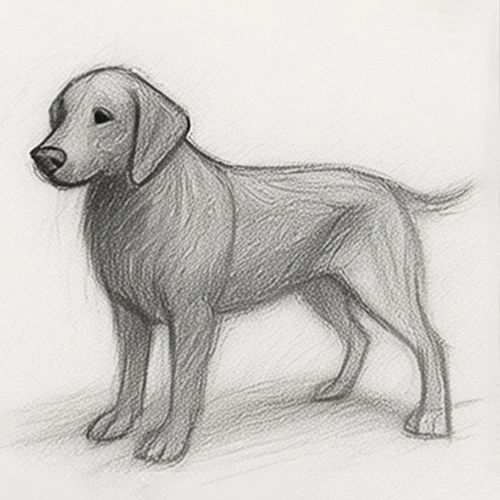
How to Draw a Semi-Realistic Dog
Learn how to draw a dog step-by-step, from basic shapes to detailed features. Perfect for improving your sketching skills and capturing canine charm!
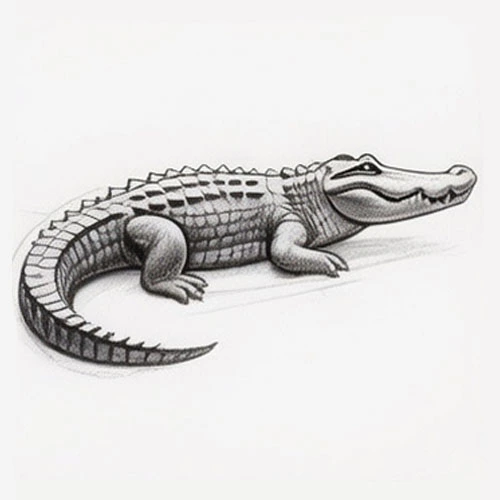
How to Draw a Semi-Detailed Crocodile
Learn how to draw a crocodile step-by-step, focusing on shapes, shading, and details to create a semi-realistic look.